
DIY Table Makeover
There is an area by our door that could use some organization. When things start to pile up, it’s a good indicator that organization is needed. In our case, I kept piling things on the floor and by the hearth that needed to “exit” the house (returns, my purse, things to go back to friends, etc).
I had been on the hunt for a small table with some shelves or storage to fit the space. I ran across what appeared to be the perfect table at one of our recent estate sales. The only downside was it was in horrible condition! The veneer was peeling off. Many of the decorative elements were broken. And the table was in need of a deep clean.
I decided to overlook the flaws since it was the ideal size and storage solution that we needed. So I brought it home for a rehab project.


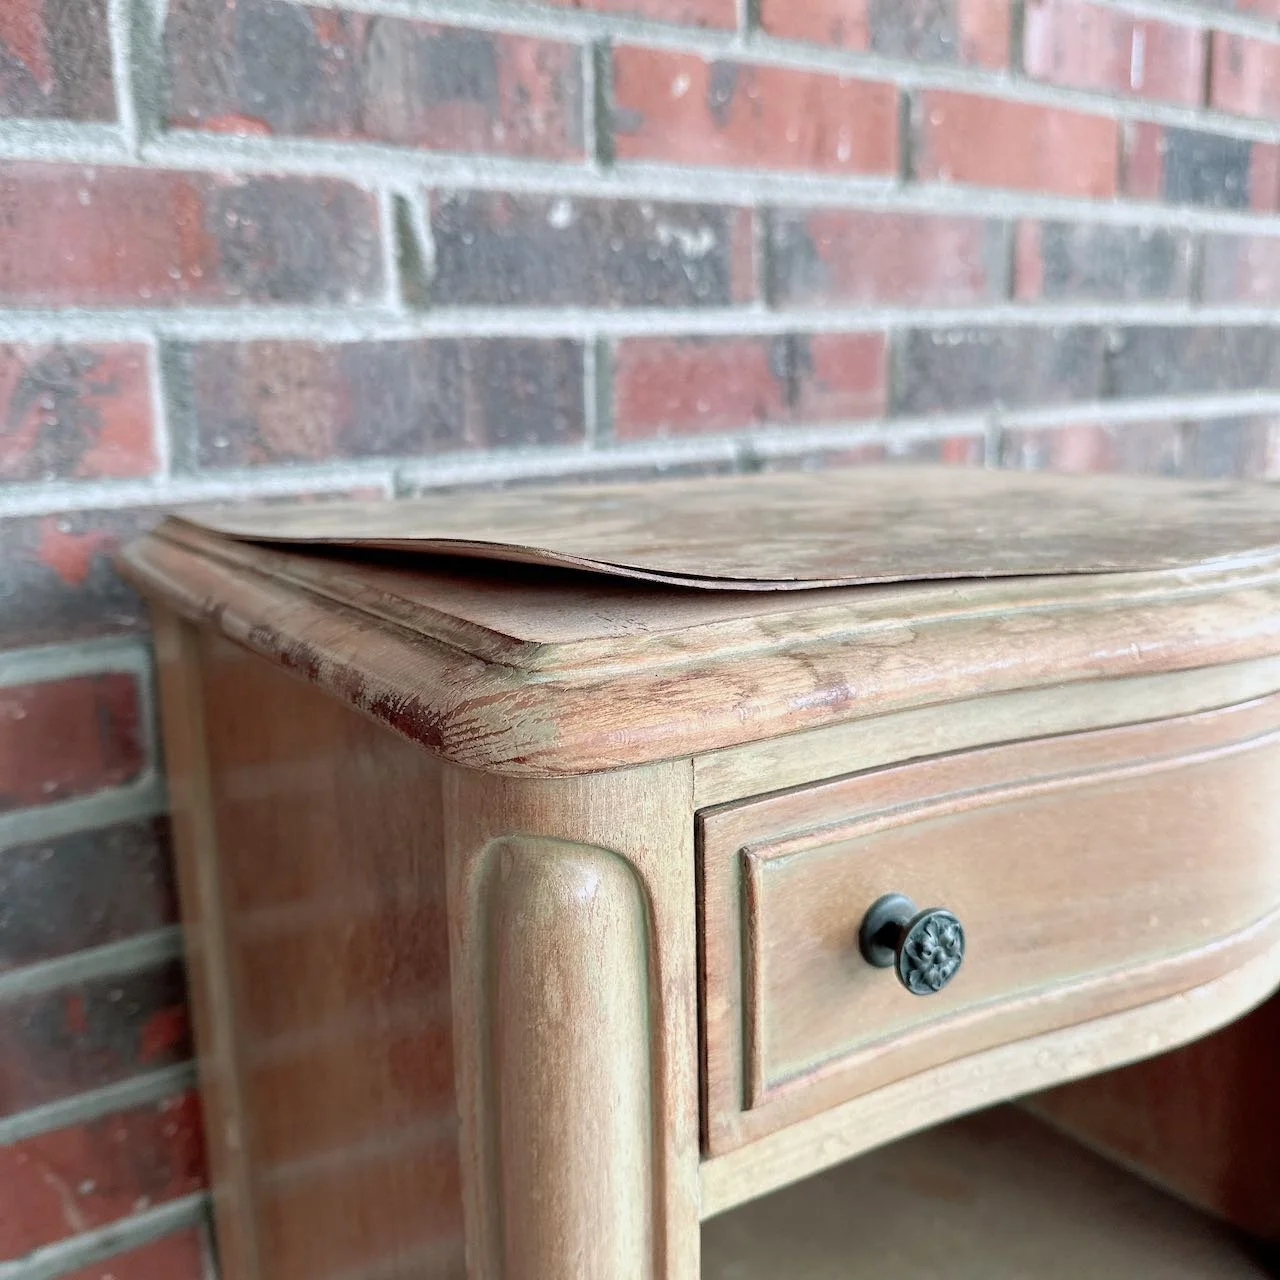
The first thing I did was remove the veneer top. It could have been glued back to the table, but I didn’t see the use of it in this case.
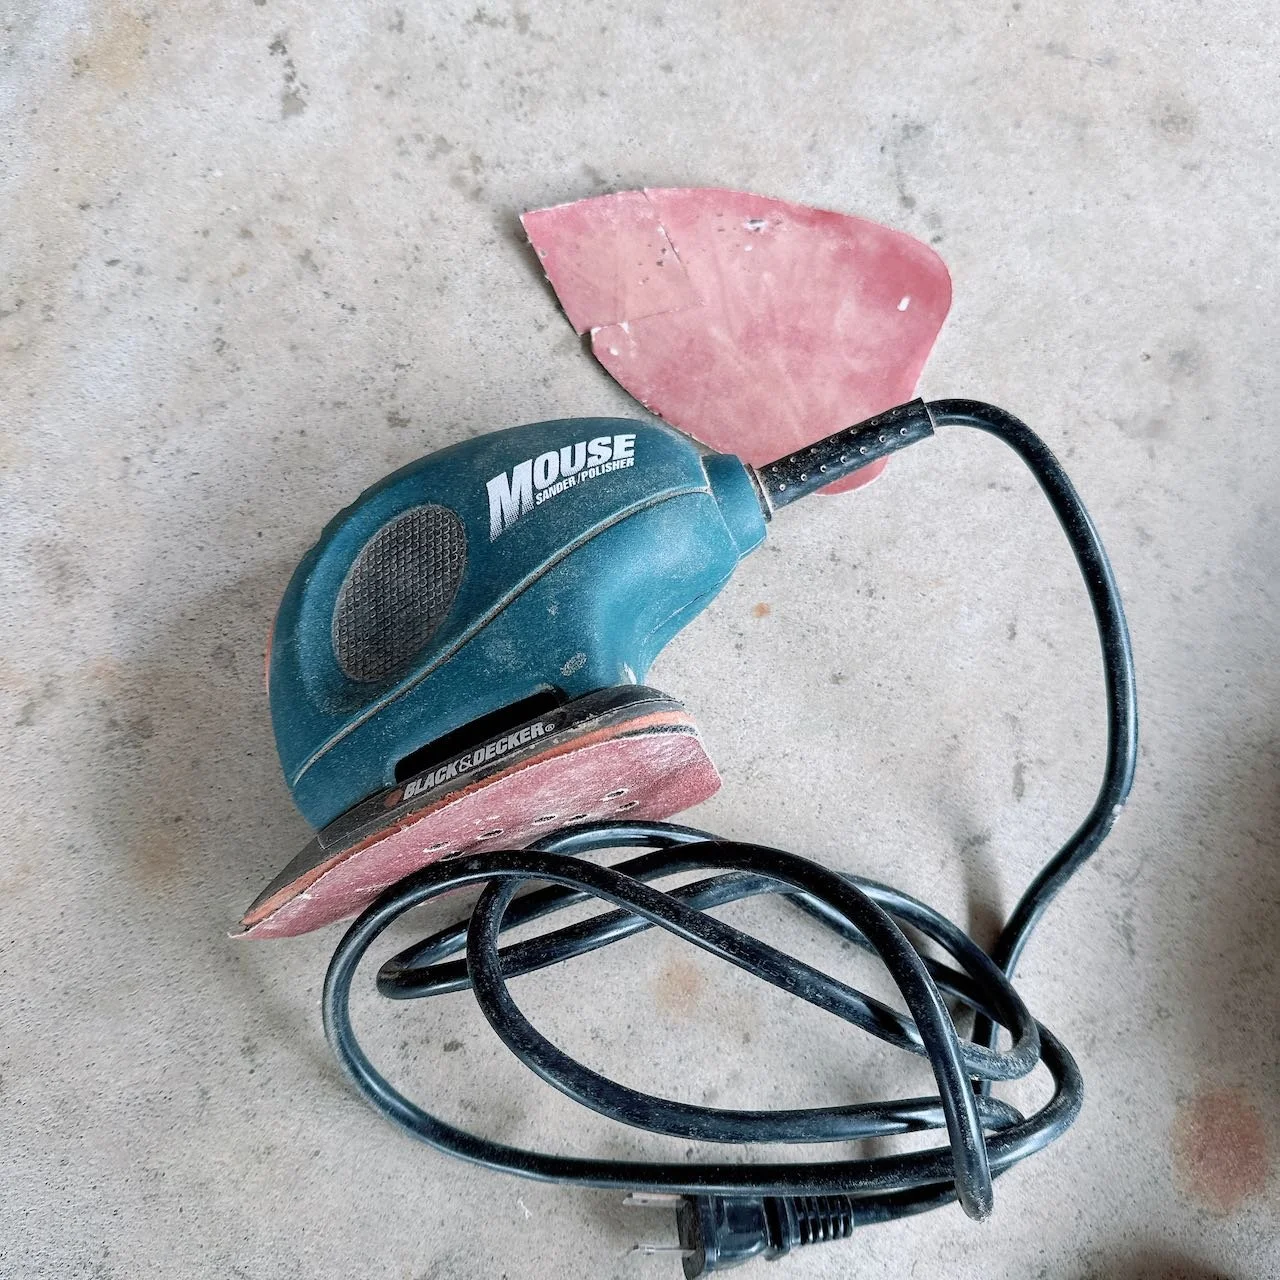
Next I used my hand sander to sand it down (top only). Sand with a low grit followed by a high grit.
Before moving on the fun part, I decided to give the table a good clean with Dawn dish detergent and the hose pipe. There are many ways you can clean furniture without using a hose pipe but I wanted to get alllll the dirt off this little guy.


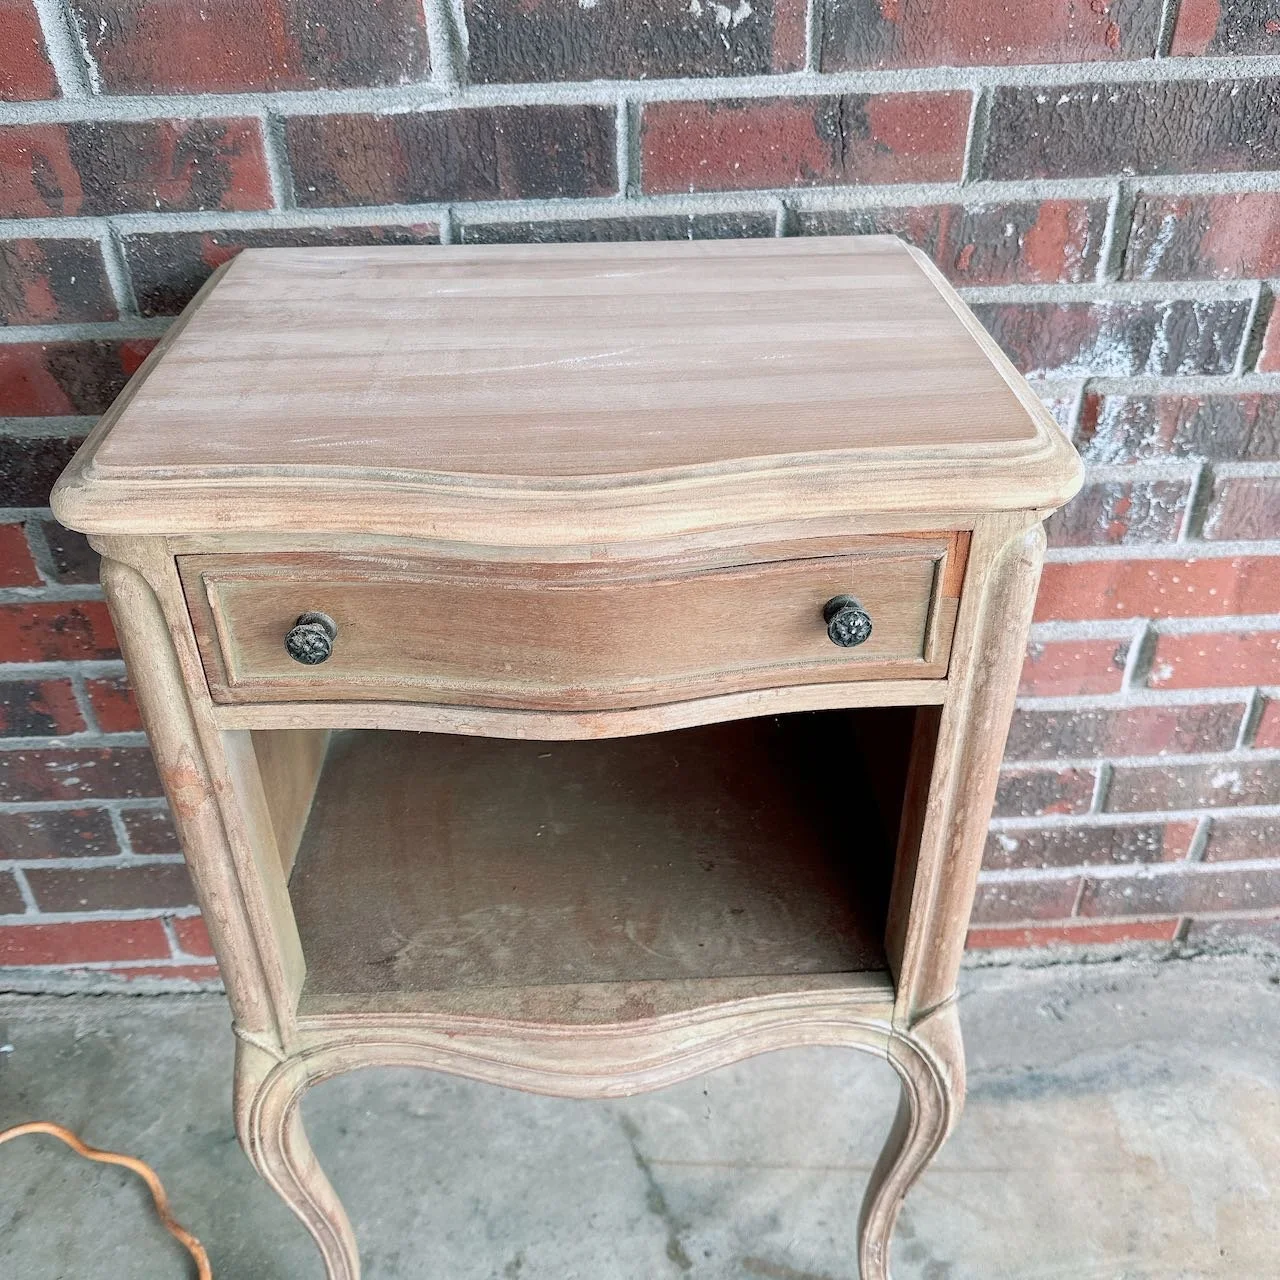
Once the table dried (in the sun), I added several coats of stain to the top. I used what I had on hand and decided to go with a walnut color.
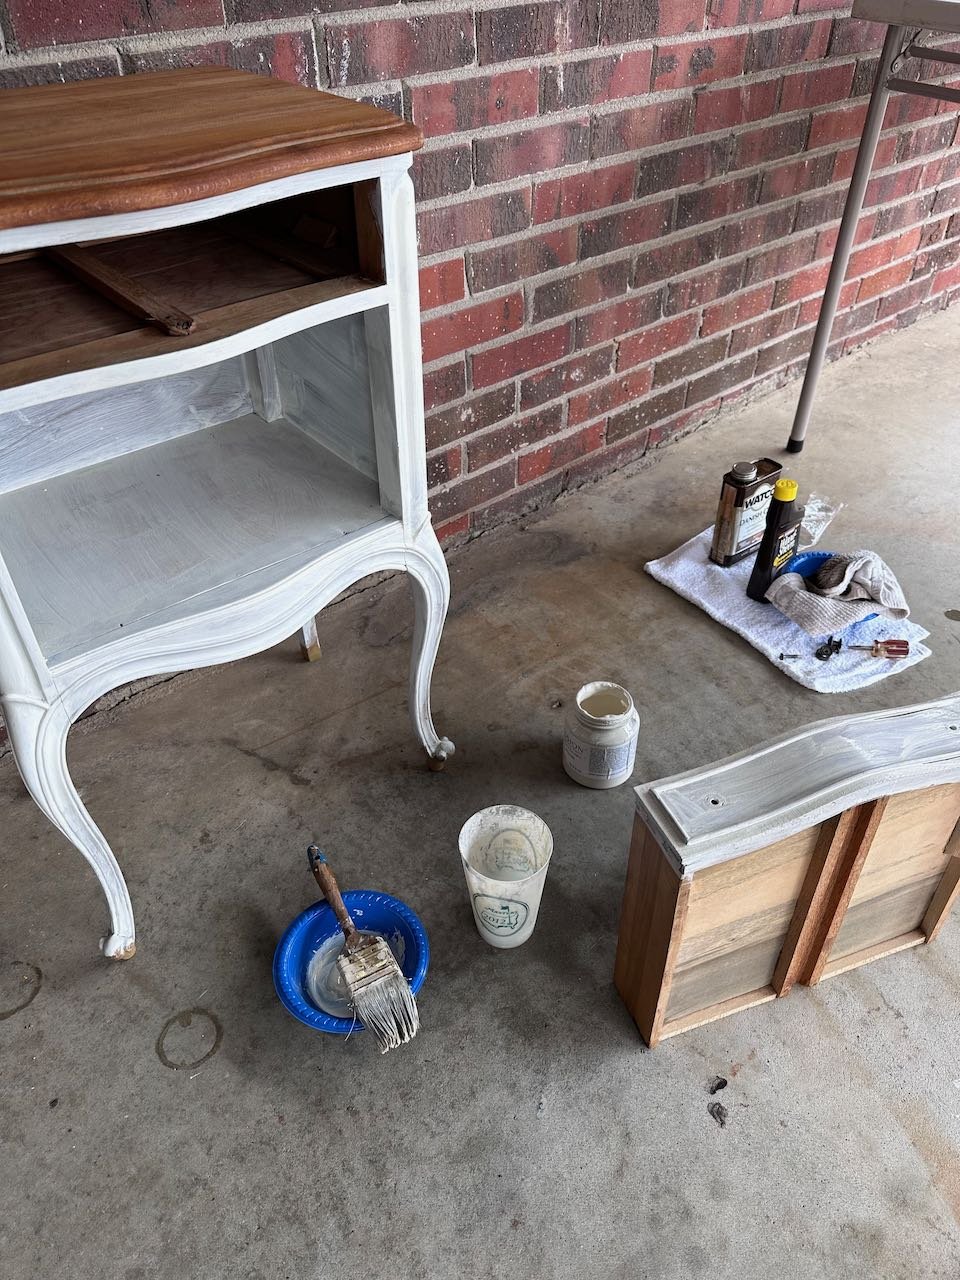
Then I proceeded to paint the base with Fusion Mineral Paint in “Raw Silk”. The table took 3 coats of paint (drying in between).
Mineral paint is similar to chalk paint in that you don’t have to sand furniture before applying. It will adhere to many different surfaces without peeling.
While the table was drying, I decided to clean up the drawer knobs. I used Bar Keepers Friend and a small brush. I had NO idea they were brass!


You can seal the stain and the paint if you prefer, but this is a step I rarely take. ;) Now for the after!


Here’s the corner by the door without the table and with the table. I think it fits in perfectly!


For one final before and after! Tell me what you think in the comments!
Oh, this project took roughly 4 hours to complete (start to finish)!

Pin for later